Welcome to my getting started with Web2py tutorial.
This tutorial assumes very little on the part of the reader, some knowledge of a programming language will certainly help, but if not don’t worry. I’ll take you from installation through to v1 of your application.
If you don’t want to copy from the tutorial, the full source is hosted on github.
Why Web2py?
Web2py is a fantastic web development framework for Python, it focuses on
- Ease of use
- Rapid development
- Security
Additionally it had a excellent documentation and a highly responsive mailing list, these factors combine to make it a great place to start for those new to web development and programming in general.
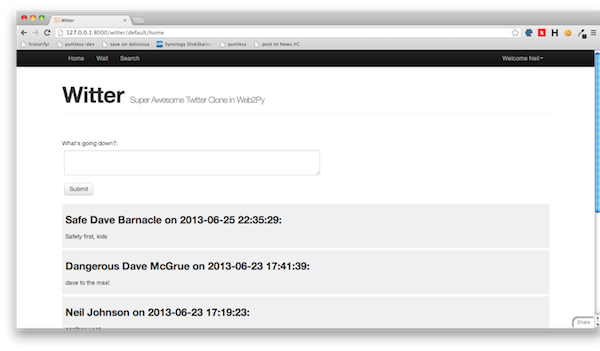
To give an idea of just how easy it is to get going this tutorial we will build a twitter clone from scratch – nothing too flashy, but enough to demonstrate some core ideas to get you going.
The Twitter Clone – Witter
We’ll call the app Witter and steal other Twitterisms such as weets and weeting.
The app will be made up of three pages
- A home page, that displays all the weets of the user as well as those of anyone they follow
- A wall page, that displays profile details of a given user as well as their weets
- A search page that can be used to find others users and follow and unfollow
Getting Web2Py
There are a number of ways to do this, the easiest is to download the binary packages available for OS X and Windows. The binaries includes everything you need including a Python interpreter and an integrated development environment. Linux users will need to download the source, if you are comfortable with Linux I’m going to assume that you are comfortable with installing web2py.
Once downloaded you have everything you need and it is time to start web2py for the first time.
On OS X you’ll want to copy your newly downloaded file to your Applications folder, then double click just as you would any normal application to launch.
On Windows, copy web2py.exe to Program Files and double click to launch:
When prompted enter an admin password, and click ‘Start Server’ and soon after you will be presented with the web2py welcome app.
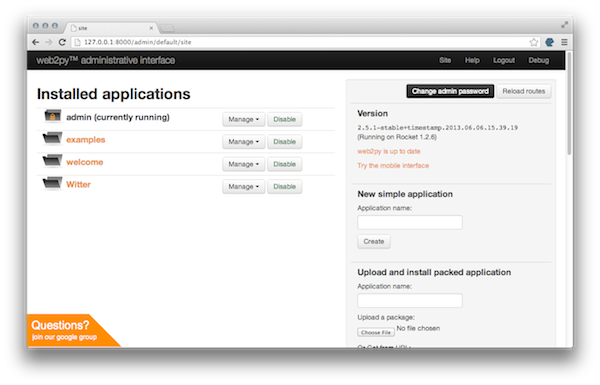
This is great place to start, including some useful examples and documentation, for now just click on the ‘Administrative Interface’ button on the right hand side to reach the site view of the administrative interface.
Creating your new application
The first thing to do is to create the new application, on the right hand side under ‘New Simple Application’ enter ‘witter’, this will be the name of our Twitter clone. With a bit of luck you are now looking at the Witter administrative interface – we are going to spend some time taking a tour of this page, but before we do that let’s head to the Witter home page. In a separate tab point your browser to
Congratulations – this is your brand new application, you’ll notice that it looks very similar to the welcome application, it is just using the same default content. We soon get rid of that in the next post as we start in earnest on Witter.


thanks…
LikeLike
Thanks for this Tutorial..
Its very nice for getting starte with web2py..
LikeLike